 |
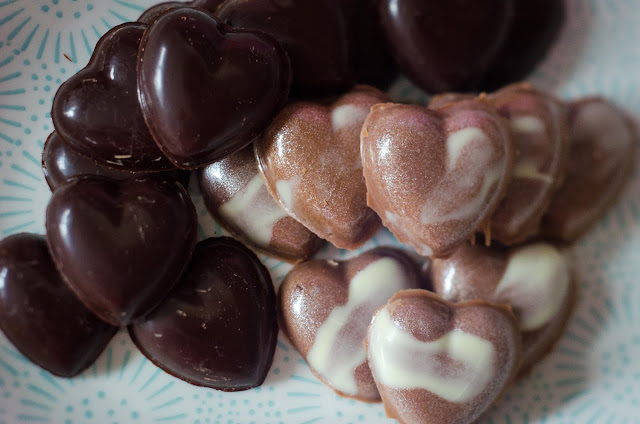
| Dark chocolate tempered hearts for practice, and milk chocolate peanut butter and jelly truffles (recipe below). The dots are silver shimmer powder I used. |
My grandma was the sweetest person I have ever known. It is fitting that she worked in a chocolate store, crafting with sugar and that deliciously addicting cocoa bean. I remember walking into 'The Chocolate Store', and being able to smell melted milk chocolate as it was continuously stirred by the old chocolate machine. My sister and I would wander around the store looking at chocolate wrenches and mini hammers, truffles of all flavours, a small sugar-free assortment, the musical cards the shop sold to go along with gifts, while mom chatted with Grandma. If we were good, and often even if we weren't, Grandma would give us chocolate.
Because of her, my childhood is inextricably linked to chocolate, and chocolate now means happiness. Grandma gave me my first piece of tiger butter, she let me nibble the chocolate off her beautiful chocolate-covered strawberries, made me try a chocolate-covered potato chip/crisp (they're weirdly addicting). All these flavours speak of her, but in my youth I never asked nor cared how she made it.
As I get older and memories of her start to fade so that it's hard to tell what I've made up and what was real, I am regretting more than ever that I never asked her about her work. She was so good at what she did, and most of her secrets I can now only find out through long research. I want to know about chocolate, how to work with it and how to make it work for me, because in working with chocolate I have a link to Grandma that never fades. It lets me be closer to her.
Chocolate as we know it and love it today has a long history. It was fermented and drunk as a spiced drink by South Americans, gradually making its way to Europe via explorers, merchants, pirates, and slave traders. In Europe, it was largely drunk until the 19th century when Cadbury's industrialised the candy bar. Today, the chocolate we consume still has to go through a lengthy and care-filled process of farming, fermentation, peeling, grinding mixing, melting, and tempering before ending up in our homes and bellies.
For new home bakers and cooks like me, chocolate is as enigmatic and difficult to work with as it is delicious and satisfying to eat. There is compound chocolate, 'real' chocolate, baking chocolate, feves, couverture, and a whole other world that I haven't quite gotten to grips with. But I'm slowly getting there!
There are two main types of chocolate on our grocery store shelves that I've already mentioned: compound chocolate and 'real' chocolate. Compound chocolate is made with vegetable fats, has a higher melting point, and is easier to work with, but doesn't taste quite as good. 'Real' chocolate is made with cocoa butter, has to be tempered to set properly and is therefore more difficult to work with, but tastes better. And the only way to tell the two apart is by reading the ingredients.
So if you want to work with real chocolate, do you have to temper it? The answer is if it has cocoa butter in it (even white chocolate), then yes you have to temper it. If you don't, it won't stand up or set at room temperature, and will droop and look melty and sloppy. The good news is that tempering may sound complicated, but once you understand the why and how, and have the tools to do it, it's not too difficult.
I won't go into the specifics of why you need to temper here as it is a bit long and difficult to type out. But if you plan on trying to temper chocolate, you should check out Ann Reardon of the
How to Cook That blog on YouTube. The following truffle recipe was made using her 'Chocolate Secrets' video.
Here's a link to her video on chocolate. I recommend just visiting her YouTube channel, even if you don't want to do a chocolate recipe. She has so many fantastic recipes and videos on there that I could spend all day watching them.
Peanut Butter and Jelly Milk Chocolate Truffles
*For this recipe you will need a candy thermometer that can read low temperatures, a heat-proof bowl, a small microwaveable plastic bowl, a mould, a rubber spatula, and a saucepan.
1 bar of good quality 'real' milk chocolate (make sure it has cocoa butter and not vegetable fat)
1/2 bar of good quality white chocolate (with cocoa butter, not vegetable fat)
*If you're in the UK, I used Morrison's own chocolate bars. They're by the Lindt and more expensive bars in the chocolate section.
4 TBSP smooth peanut butter
2 TBSP jam (I used strawberry)
Push your jam through a sieve if it has fruit chunks in it. In a bowl, stir together jam and peanut butter. Place in a piping bag and set aside.
Make sure your mould is clean and completely dry. Buff the mould with a cotton wool bud to remove any moisture and marks. This will give the chocolate a shiny surface.
Set your microwave to under 500 watts. This is how we will melt and keep the white chocolate in temper. This method plus the later double boiler method means you will know two ways of tempering chocolate. Shave the white chocolate into the plastic microwaveable bowl. Microwave for 30 seconds. Stir, and return to microwave for 15 seconds. Remove, stir, and check the temperature this time. If not yet smooth and melted, return to microwave and heat at 10 second intervals until it is 28-29ºC and melted. You HAVE to keep the temperature below 29ºC to keep the white chocolate in temper. That means that as the white chocolate melts with this method, you must check the temperature after stirring and before returning it to the microwave.
When the white chocolate is ready, use your clean finger to smudge a bit of white chocolate in a stripe on the mould. Leave at room temperature to set.
Bring a saucepan with 1/2 an inch or so of water to the boil, the reduce to low so that the water barely simmers. Make sure when you put the heatproof bowl over the saucepan that the bottom of it does not touch the water. Chop the milk chocolate and place 3/4 of it in your heatproof bowl. Melt over the barely simmering water, stirring constantly, until the temperature reaches 38ºC. Remove from heat and add the 1/4 of the remaining chocolate. Stir until melted, and the temperature drops to 28ºC. This method of tempering is called seeding.
When the temperature of the milk chocolate is 28ºC, pour it into your mould, and scrape the excess off the top back into your heatproof bowl to reuse. Let the chocolate set for a minute, then turn the mould over your heatproof bowl so that the chocolate is only coating the mould and there is a hole in the centre. Use a palette knife to even out the tops of the chocolate. Let the chocolate set in the fridge for 3 minutes.
Pipe the peanut butter and jelly into the chocolate in the mould. Bring your water in the saucepan back to a barely-there simmer. Place the leftover chocolate in the heatproof bowl back over the saucepan for 10-20 seconds just until it starts to melt, then immediately remove the bowl from the saucepan and stir until it is melted completely. Check the temperature, and scrape into a piping bag when it is at 29ºC.
Snip a small hole in the end of the piping bag, and cover the peanut butter with chocolate. Bang the mould on the counter a couple times to level out, and let the chocolate set for 10 minutes in the fridge. When set, gently twist and move the mould to loosen the chocolates and then turn them out onto a place.
Enjoy!
_____________________________________________
Reference for the history of chocolate:
Ruby Tandoh,
Eat Up: Food, Appetite and Eating What You Want (London: Serpent's Tail, 2018).
Reference for chocolate tempering and information:
Ann Reardon, 'Chocolate Secrets',
How to Cook That, <https://www.youtube.com/watch?v=sGlMoNs4qlM>.


Comments
Post a Comment