 |
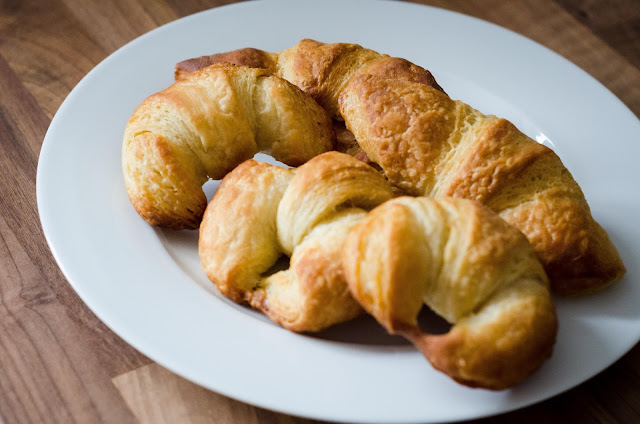
| My final batch of croissants. |
I know not everyone is like this and some people really welcome a challenge, but I naturally want to shy away from things that are too difficult if I don't think I'll excel at them. I'm not a perfectionist, but I hate failing and being bad at something. I have to force myself to actually get out there and do it, but baking is gradually helping me get past this. Half of baking when you're starting out is all about pushing the boundaries, experimenting, and getting things wrong to eventually get them right.
Because of my fear of failure, I've never tried making my own croissants from scratch and the only bread I've ever made is soda bread, which is really easy. But here's the thing, croissants are delicious and I'd really like to know how to make them well, so even though I was intimidated by how complicated they are, I gave them a try this week. Well, maybe two or three tries, but with baking the more you try and learn from your mistakes, the better you'll get.
Since I've never made them before, I did my research, found a recipe I trusted, read about technique, and got started. If you're baking something you've never baked before, make sure to read the recipe and any tips the baker gives you in its entirety at least once. The tips are there for a reason, especially with baking and bread making where science plays a large role.
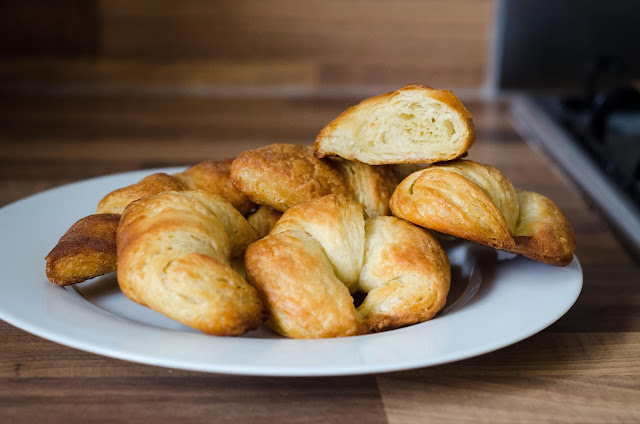 |
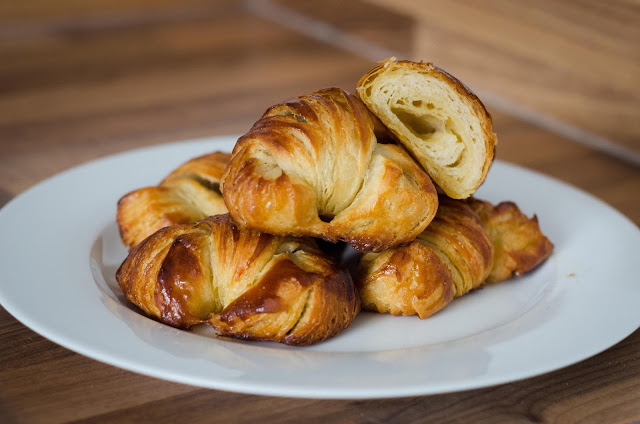
| Another photo of my final batch with one cut open so you can see the structure inside. |
If you're going to make these, know that it takes
two days to do so, and they do require some precision. I've also included some sciency stuff here that I found helpful to know. A list of my sources are at the bottom. If you don't want to read the science bit, feel free to skip ahead, but make sure to follow the recipe because the instructions are there for a reason.
When it comes to croissants, there are three main components to know: flour, yeast, and butter.
Flour
Most baking incorporates flour. The protein, or gluten, in flour is what stretches to hold air bubbles (sort of like bubble gum), which results in rising. Gluten and its development is also what results in different textures, and more gluten means chewier and more dense products. Controlling this gluten development and manipulating flour is how bakers create everything from sponges to shortbread to bread, and not all flours are created evenly.
All-purpose/plain flour has a lower protein content, which makes their resulting products more delicate. This means this type of flour is perfect for cakes, cookies, pastries, and some breads. What you do with the flour can make it crumbly, crunchy, flaky, spongey, or delicate.
Bread flour or strong white flour has a higher protein content. This means there is more gluten, which makes this flour more hardy, perfect for breads.
The first batch of croissants I made, I used strong white flour because the recipe called for it. It worked, and I'm not going to lie, they were still delicious (I ate three straight from the oven). But the dough was really stretchy--it reminded me of pizza dough, and the resulting croissants weren't as flaky because the gluten made them slightly more chewy. You could use this type of flour for croissants though if you planned on filling them with savoury ingredients.
 |
| My first batch of croissants with the strong flour. |
|
Butter
BUTTER IS THE SINGLE MOST IMPORTANT INGREDIENT IN CROISSANTS. I cannot stress that enough. Aside from the initial step with the butter, you HAVE to keep the butter cold, and you really need to use a good quality one. I used Kerry Gold unsalted, which I know you can find in both the UK and US.
Butter is used in croissants to layer throughout the dough in a process called lamination. You need a good quality butter for the higher fat content, which creates the delicious buttery, flaky layers. In the oven, the water evaporates quickly from the layers between the dough, which puffs the dough up and creates the croissant's flakiness.
If the butter isn't kept cold and melts when you're preparing the dough, it will bind with the dough and will not puff up in the classic croissant way.
Yeast
Yeast is what ferments the dough and creates carbon dioxide, resulting in bubbles to help the rise. You need to use instant yeast, or fast acting yeast. Letting the dough rest in between turns after you knock the carbon dioxide out of it makes the yeast continue its fermentation, which gives the croissants more flavour. The longer you can let the dough rest, the better.
Croissants
Makes about 12
Prep Time: ~17 hours
Baking Time: 17 minutes
500g plain flour/all-purpose flour
10g salt
80g white sugar (it doesn't really matter if it's caster or just ground)
10g instant yeast
300ml cool water
300g unsalted butter, room temperature for the initial step, and then keep the butter as cold as possible
1 egg to glaze
In a bowl, measure out your flour. Place the salt and sugar on one side of the bowl, and the yeast on the opposite. If you put all the ingredients on the same side of the bowl, the salt can kill the yeast. Pour in the water. Mix with a wooden spoon until the dough comes together, then place on a floured surface and knead with your hands for 10 minutes. You can re-flour the surface and your hands if needed, but avoid adding too much flour to the dough. At the end of 10 minutes, the dough will still be a little sticky, but stiff. If you have a stand mixer, you can mix the dough on low with the hook attachment for 2 minutes until it comes together, and then 6 minutes on medium speed.
Loosely wrap the dough in cling film, or place in a plastic bag, and refrigerate for 1 hour.
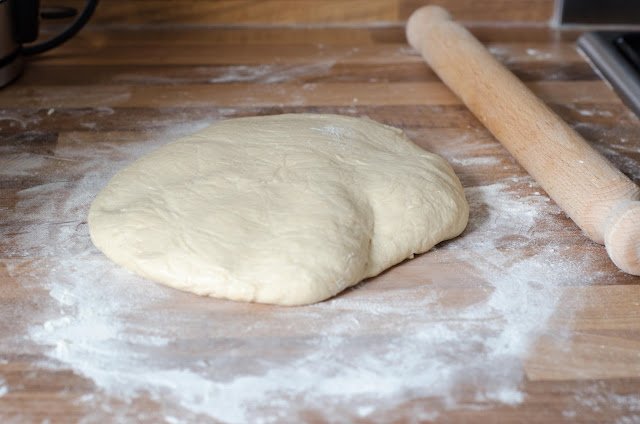 |
| What the dough will look like. |
Line a 27cm rectangular baking tin/tray with baking parchment. Place the room temperature butter in the tray and top with another sheet of baking parchment. Flatten the butter out to the shape of the tin with your hands or a rolling pin. Place the tray with the butter in the fridge to cool while the dough chills.
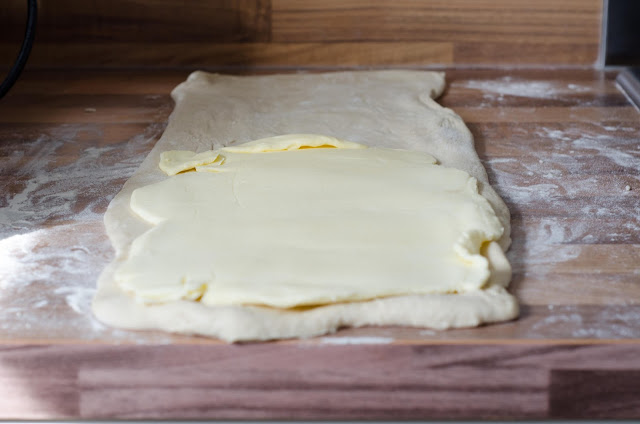 |
| The butter flattened out to almost the same size as the dough. |
After 1 hour, take the dough out and roll it out on a floured surface to 50cm by 18cm. Place the butter on the bottom 2/3 of the rolled out dough. Here, it is important to make sure the butter leaves no more than 1cm of dough exposed on the edges or the croissant will not puff up evenly. Fold the top third of the dough down over the butter. Cut or tear off the exposed butter without cutting into the dough, and put it on top of the folded over dough. Then fold up the dough bottom to top the butter and create a square. Pinch the dough to seal in the butter, then loosely wrap in cling film or put back in your plastic bag and refrigerate for 1 hour.
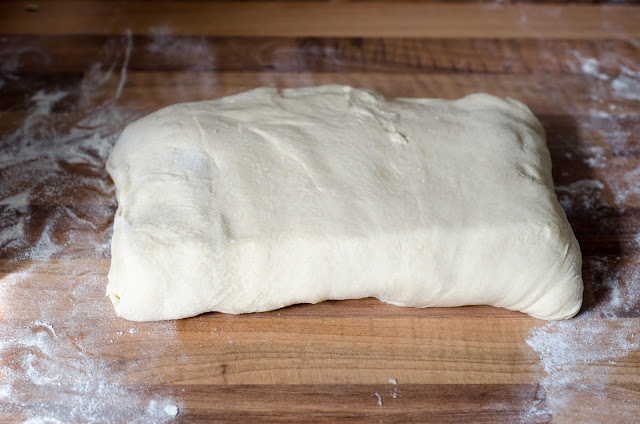 |
| Butter encased by dough. |
After an hour, take your dough out and roll it to a 50x18cm rectangle. Fold the top third down, then fold the bottom up over the top to create a square. This is called a turn. Re-wrap/place in bag and refrigerate for at least 1 hour. Repeat this step two more times.
After all three turns are finished, refrigerate your dough for at least 8 hours. This allows the yeast to continue fermentation.
When your dough is ready, remove from the fridge, gently knock the carbon dioxide out with your rolling pin, then roll into a 60x25cm rectangle so that it is no more than 1cm thick. Relax your dough a little by lifting up the edges.
Trim the edges so that you are left with a neat rectangle. Cut your rectangle in half lengthways, and then cut triangles out of each rectangle. At the bottom of each triangle, cut a little notch in the middle about 1cm long. Line three baking sheets with baking parchment.
To shape the croissants, pinch the tip onto the counter and stretch a little to create tension. Roll the bottom down to the top, so that the point is in the middle and on the bottom, and then place on the baking sheet with the triangle point laying down on the sheet. If you want the curved croissants, pinch the bottoms on the opposite side of where the top of the triangle is pointing.
When all croissants are shaped, place cling film over them all and let them proof (or rise) for 2 hours at cool room temperature (no more than 23C/73F).
When ready to bake, preheat the oven to 200C/400F. Brush the croissants with a beaten egg, then bake for 15-18 minutes, turning halfway through.
Best enjoyed warm with a bit of jam or even plain.
_____________________________________________________
Sources
For info on flour: https://www.deliaonline.com/ingredient/flour
Croissant history and helpful guidelines: http://www.joannabakes.com/2017/05/croissants-part-two-science-recipe.html
The initial recipe I used and subsequent base recipe: http://paulhollywood.com/recipes/croissants/
If you're a visual person and like to see the process, here's a video: https://www.youtube.com/watch?v=K689erbK3XI&t=586s


Comments
Post a Comment